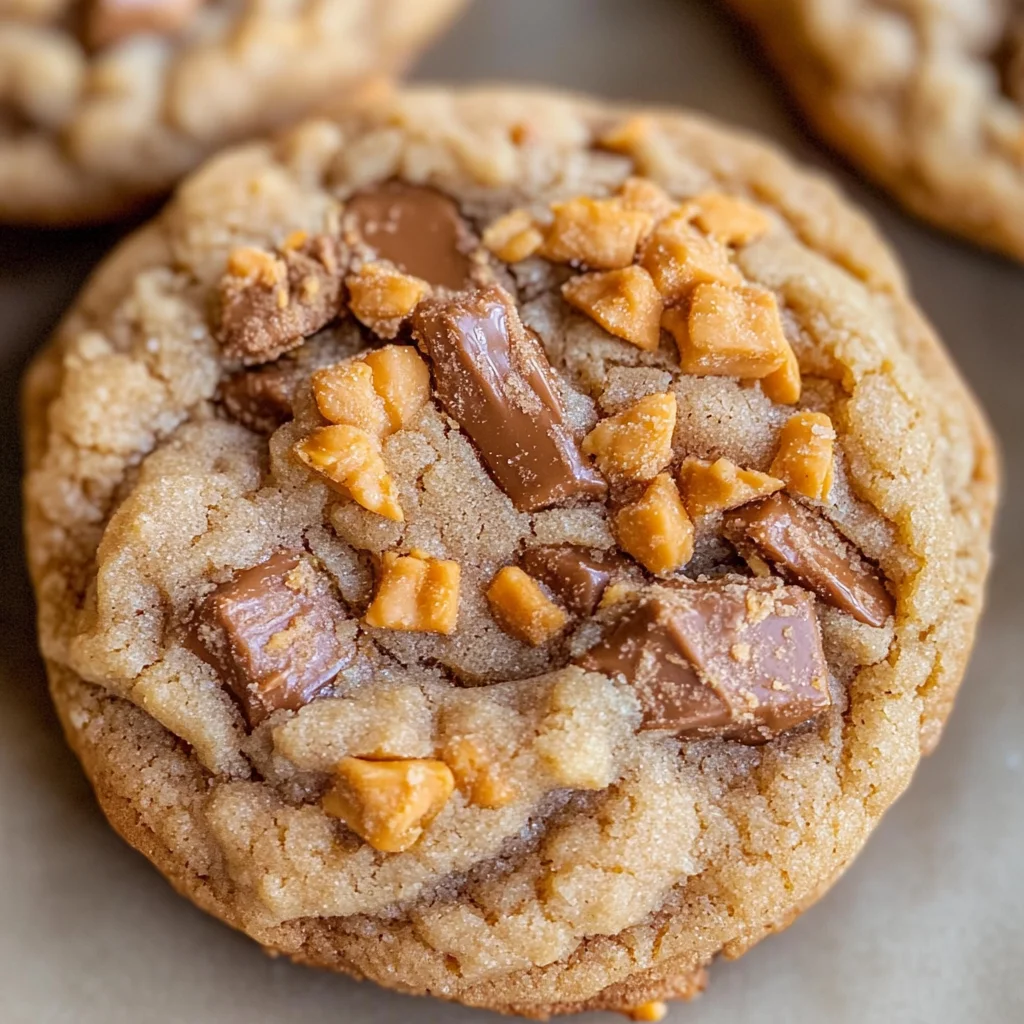
Peanut Butter Butterfinger Cookies
If you’re looking for a cookie that combines the rich, creamy goodness of peanut butter with the delightful crunch of Butterfinger candy, then these Peanut Butter Butterfinger Cookies are just what you need! I can’t tell you how many times this recipe has saved me during busy weeknights or family gatherings. They are always a hit, and I love watching everyone’s faces light up when they take their first bite. Trust me, once you try them, they’ll become a regular in your baking rotation!
These cookies are not only delicious but also super easy to make. Whether you’re whipping them up for an after-school treat or for a cozy evening at home with friends, they’re sure to impress. So grab your mixing bowl and let’s get started on these heavenly Peanut Butter Butterfinger Cookies!
Why You’ll Love This Recipe
- Quick and Easy: These cookies come together in no time, making them perfect for those last-minute cravings.
- Family Favorite: Everyone loves the combination of peanut butter and chocolatey crunch—kids and adults alike!
- Make Ahead: You can chill the dough for later baking, so you can enjoy fresh cookies anytime.
- Freezer Friendly: Bake some now and freeze the rest for later; they’re just as tasty after thawing!
Ingredients You’ll Need
To make these delightful cookies, you’ll need some simple and wholesome ingredients that you probably already have in your pantry. Here’s what you’ll need:
- 3/4 cup butter (softened – about 1 and 1/2 sticks)
- 1/2 cup granulated sugar
- 1/2 cup brown sugar (packed)
- 1 cup peanut butter (don’t use natural peanut butter)
- 1 large egg
- 1 & 1/2 teaspoons vanilla extract
- 1 & 1/2 cups all-purpose flour (spooned and leveled)
- 1/2 teaspoon baking soda
- 1/2 teaspoon baking powder
- 1/4 teaspoon kosher salt
- 16 ounces Butterfinger (chopped; see note*)
Variations
This recipe is wonderfully flexible! Here are a few ways to customize your Peanut Butter Butterfinger Cookies:
- Add Chocolate Chips: For an extra chocolatey kick, mix in your favorite chocolate chips along with the Butterfinger bits.
- Use Other Candies: Swap out the Butterfinger for other candies like Snickers or Twix to create new flavor combinations.
- Nutty Twist: For added texture, throw in some chopped nuts like peanuts or almonds.
- Make Them Gluten-Free: Substitute all-purpose flour with a 1:1 gluten-free flour blend.
How to Make Peanut Butter Butterfinger Cookies
Step 1: Cream the Butters
In a large bowl or stand mixer, beat together the softened butter until it’s smooth and creamy. This step is essential as it helps incorporate air into the batter, resulting in light and fluffy cookies.
Step 2: Add Sugars
Next, add both the granulated sugar and brown sugar to the butter. Beat well until fluffy—about two minutes should do it! This is where your cookies start to gain sweetness and that lovely chewy texture.
Step 3: Mix in Peanut Butter
Now it’s time for the star ingredient: peanut butter! Add it into the mix and blend until everything is well combined. Using a brand like Jif really does make a difference here—it adds that classic peanut flavor we all love!
Step 4: Incorporate Egg and Vanilla
Add in one egg along with the vanilla extract. Mixing these together well ensures your cookies have that lovely buttery aroma while baking.
Step 5: Combine Dry Ingredients
In another bowl, measure out your flour carefully (spooning it into your measuring cup helps avoid packing) along with baking soda, baking powder, and salt. This step is crucial because it ensures even distribution of leavening agents throughout your dough.
Step 6: Mix It All Together
Turn on your mixer to combine everything into a dough. Be careful not to overmix—just mix until everything comes together nicely but still has some visible flour. Overmixing can lead to tough cookies!
Step 7: Add Those Crunchy Bits
Gently fold in the chopped Butterfinger pieces until just incorporated. These bits will give your cookies that delightful crunch we’re aiming for!
Step 8: Chill Your Dough
Cover the bowl with plastic wrap and chill your dough for at least 15 minutes (or up to 24 hours). Chilling helps develop flavors and makes for easier scooping later on.
Step 9: Preheat Your Oven
While your dough chills, preheat your oven to 350°F (175°C) and line two baking sheets with parchment paper or silicone mats.
Step 10: Shape Your Cookies
Using a cookie scoop or your hands, shape the dough into balls about two inches wide. Make sure to space them apart on the baking sheet so they have room to spread.
Step 11: Bake Away!
Pop those trays into the oven and bake for about ten minutes. You’ll know they’re done when their edges are set but they still look slightly puffy.
Step 12: Cool Down
Let them sit on the pan for about five minutes before transferring them to a wire rack. This cooling time helps them set properly without falling apart.
And there you have it! A batch of warm Peanut Butter Butterfinger Cookies ready to be devoured! Enjoy every bite of this deliciousness—your taste buds will thank you!
Pro Tips for Making Peanut Butter Butterfinger Cookies
Baking these cookies can be a delightful experience, and a few pro tips can take your cookie game to the next level!
-
Use room temperature ingredients: Starting with softened butter and eggs at room temperature allows for better incorporation, leading to a smoother dough and fluffier cookies.
-
Don’t overmix the dough: Once you add the flour, mix just until combined. Overmixing can result in tough cookies instead of the soft, chewy texture we all love.
-
Chill the dough: Allowing the cookie dough to chill not only enhances the flavors but also helps prevent spreading during baking, resulting in thick and soft cookies.
-
Press after baking: If your cookies don’t spread as much as you’d like, gently press them with a spatula right after they come out of the oven. This will give them that perfect shape without sacrificing softness.
-
Experiment with mix-ins: Feel free to customize your cookies! Try adding chocolate chips, chopped nuts, or even a sprinkle of sea salt for an extra flavor boost.
How to Serve Peanut Butter Butterfinger Cookies
These scrumptious Peanut Butter Butterfinger Cookies are perfect for any occasion! Present them on a beautiful platter or stack them high for an eye-catching dessert display.
Garnishes
- Chocolate drizzle: A simple drizzle of melted chocolate over the cooled cookies adds a touch of elegance and extra sweetness.
- Crushed Butterfinger bits: Sprinkle more chopped Butterfinger over the tops of the cookies before serving for added crunch and visual appeal.
- Peanut butter glaze: Whip up a quick glaze using peanut butter and powdered sugar mixed with a splash of water for drizzling on top.
Side Dishes
- Milk: A classic pairing that complements the rich flavors of peanut butter perfectly. Whether it’s dairy or plant-based milk, it’s sure to enhance your cookie experience.
- Vanilla ice cream: Serve these warm cookies alongside scoops of vanilla ice cream for an indulgent dessert that melts in your mouth.
- Fruit salad: A refreshing side dish that balances out the sweetness of the cookies. The freshness of berries or citrus fruits is particularly delightful.
- Coffee or tea: Brewed beverages like coffee or herbal tea can provide a nice contrast to the sweetness and enhance your overall tasting experience.
Enjoy every bite of these delicious Peanut Butter Butterfinger Cookies! Happy baking!
Make Ahead and Storage
These Peanut Butter Butterfinger Cookies are perfect for meal prep! You can make the dough ahead of time or store leftovers to enjoy later. Here’s how to keep them fresh and delicious.
Storing Leftovers
- Store cookies in an airtight container at room temperature for up to 3 days.
- For optimal freshness, place parchment paper between layers of cookies to prevent them from sticking together.
Freezing
- To freeze cookie dough, form balls and place them in a single layer on a baking sheet. Freeze until solid, then transfer to a ziplock bag for up to 3 months.
- Baked cookies can also be frozen. Place them in a sealed container and store for up to 4 weeks.
Reheating
- To reheat frozen cookie dough, bake directly from the freezer, adding an extra minute or two to the baking time.
- If reheating baked cookies, place them in the microwave for about 10-15 seconds or warm them in the oven at 350°F for a few minutes until heated through.
FAQs
Got questions? No worries, we’ve got you covered!
Can I use natural peanut butter in Peanut Butter Butterfinger Cookies?
While it’s tempting, natural peanut butter doesn’t work as well in this recipe. Stick with a processed peanut butter like Jif for the best texture and flavor.
How do I ensure my Peanut Butter Butterfinger Cookies are thick?
Make sure not to overmix your dough once you add the flour. This helps maintain that thick, soft texture we all love!
Can I substitute other candies for Butterfingers?
Absolutely! Feel free to experiment with other chocolate bars or candies that you enjoy. Just keep in mind that different candies may alter the taste and texture slightly.
How long does it take to chill the dough?
Chilling the dough is important for flavor and texture! Aim for at least 15 minutes but feel free to chill it for up to 24 hours if you want even better results.
Are these cookies suitable for freezing?
Yes! Both the cookie dough and baked cookies freeze very well, making it easy to enjoy these treats anytime you crave something sweet.
Final Thoughts
I hope you’re as excited about these Peanut Butter Butterfinger Cookies as I am! They’re a wonderfully indulgent treat that perfectly balances soft cookie goodness with crunchy candy bits. Enjoy making them, sharing with friends and family, or simply savoring them all by yourself! Happy baking!
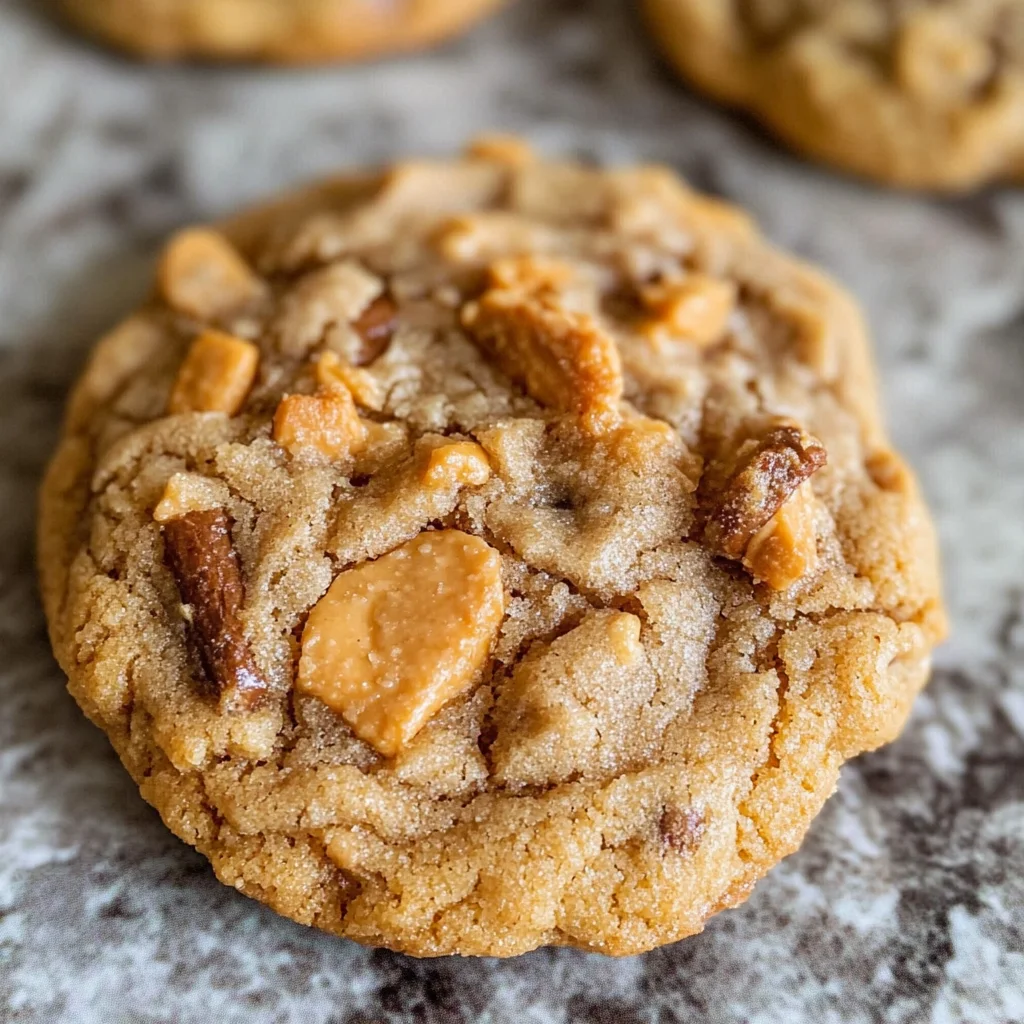
Peanut Butter Butterfinger Cookies

Indulge in the delightful taste of Peanut Butter Butterfinger Cookies—an irresistible treat that combines the creamy richness of peanut butter with the satisfying crunch of Butterfinger candy. Perfect for busy weeknights or family gatherings, these easy-to-make cookies are sure to impress everyone. With just the right balance of softness and flavor, they quickly become a favorite in your baking repertoire. Whether enjoyed as an after-school snack or served at a cozy get-together, each bite delivers warmth and nostalgia. Get ready to elevate your dessert game with this sweet, crunchy delight!
- Prep Time: 20 minutes
- Cook Time: 10 minutes
- Total Time: 30 minutes
- Yield: About 24 cookies 1x
- Category: Dessert
- Method: Baking
- Cuisine: American
Ingredients
- 3/4 cup softened butter
- 1/2 cup granulated sugar
- 1/2 cup packed brown sugar
- 1 cup peanut butter (not natural)
- 1 large egg
- 1.5 teaspoons vanilla extract
- 1.5 cups all-purpose flour
- 1/2 teaspoon baking soda
- 1/2 teaspoon baking powder
- 1/4 teaspoon kosher salt
- 16 ounces chopped Butterfinger candy
Instructions
- Cream softened butter until smooth and fluffy.
- Mix in granulated sugar and brown sugar, beating until well combined.
- Incorporate peanut butter and blend until smooth.
- Add the egg and vanilla extract, mixing well.
- In a separate bowl, combine flour, baking soda, baking powder, and salt; then gradually add to the wet mixture until just combined.
- Gently fold in chopped Butterfinger pieces.
- Chill the dough for at least 15 minutes.
- Preheat oven to 350°F (175°C) and line baking sheets with parchment paper.
- Shape dough into balls about two inches wide; space them on the sheets.
- Bake for approximately 10 minutes until edges are set but cookies remain puffy.
- Cool on pans for five minutes before transferring to wire racks.
Nutrition
- Serving Size: 1 cookie (30g)
- Calories: 150
- Sugar: 10g
- Sodium: 75mg
- Fat: 8g
- Saturated Fat: 4g
- Unsaturated Fat: 3g
- Trans Fat: 0g
- Carbohydrates: 18g
- Fiber: 0g
- Protein: 3g
- Cholesterol: 20mg