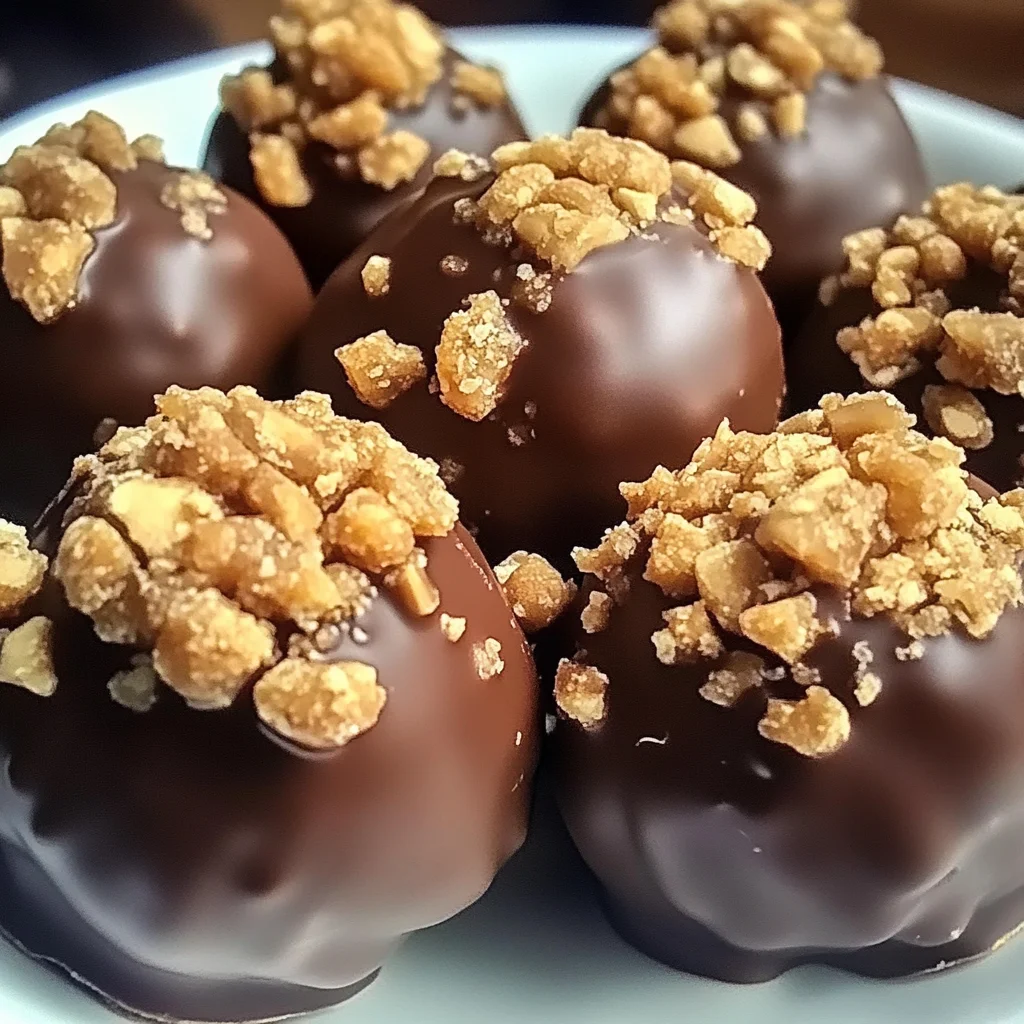
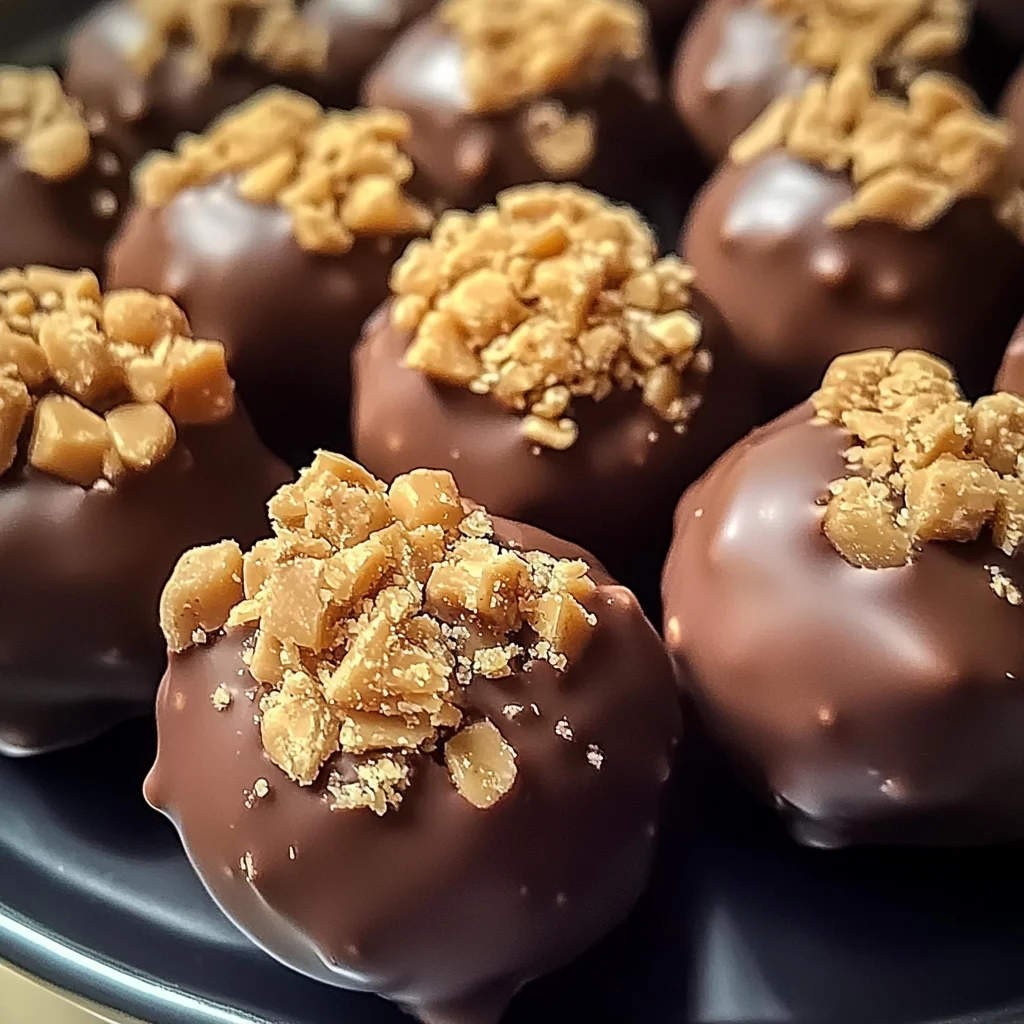
Butterfinger Balls Recipe: A Quick and Easy Delight
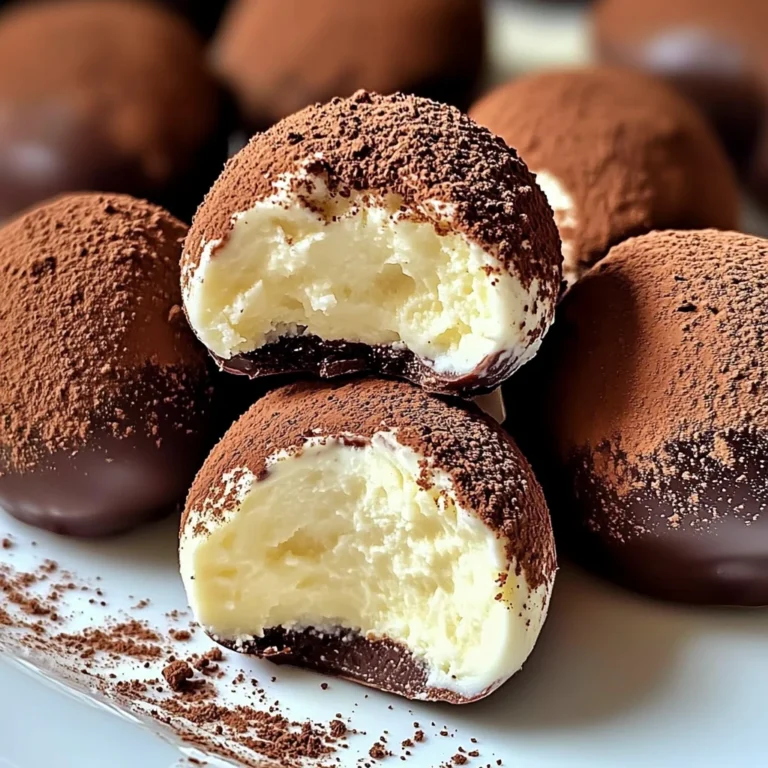
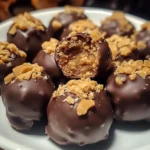
If you’re looking for a quick and easy treat that brings smiles to every gathering, then this Butterfinger Balls Recipe: A Quick and Easy Delight is just what you need! These little bites of joy are perfect for busy weeknights, family gatherings, or even as an indulgent snack while binge-watching your favorite show. The combination of creamy peanut butter and crunchy Butterfinger bars creates a flavor explosion that’s hard to resist. Trust me; once you make these, they’ll quickly become a beloved staple in your kitchen.
What I love most about this recipe is how simple it is. You can whip up a batch in no time, making it ideal for any occasion. Plus, they’re no-bake, so you won’t heat up the kitchen!
Why You’ll Love This Recipe
- Super Easy to Make: With just a few simple steps, you can have these delicious treats ready in under an hour!
- Family-Friendly Fun: Kids love rolling the balls and dipping them in chocolate—it’s a great way to get everyone involved.
- Make Ahead Convenience: Prepare these delights ahead of time and store them in the fridge for whenever the sweet tooth strikes!
- Decadent Flavor: The rich combination of peanut butter and chocolate with crunchy bits will have everyone coming back for more.
- Customizable Toppings: You can easily personalize these treats with your favorite toppings or adjust them for special occasions.
Ingredients You’ll Need
Making Butterfinger balls is all about using simple, wholesome ingredients that come together beautifully. Here’s what you need to gather:
For the Base
- 4 tablespoons unsalted butter, softened
- 1 teaspoon vanilla extract
- 1 cup peanut butter (not all-natural; no oil separation)
- 1 cup powdered sugar
- ¾ cup grachicken chicken ham cracker crumbs
- ½ cup crushed Butterfinger bars
For Coating
- 8 ounces chocolate bark or chocolate chips (for coating)
Optional Toppings
- Extra crushed Butterfinger bars
- Festive sprinkles
- Coarse sea salt
Variations
This Butterfinger balls recipe is flexible and lends itself well to creative variations! Here are some ideas to switch things up:
- Try Different Nut Butters: Substitute peanut butter with almond or cashew butter for a unique twist.
- Add Some Crunch: Mix in chopped nuts or pretzel pieces for an extra crunch in the filling.
- Go Darker: Use dark chocolate instead of milk chocolate for a richer flavor.
- Make It Seasonal: Adjust toppings based on holidays—think red and green sprinkles for Christmas!
How to Make Butterfinger Balls Recipe: A Quick and Easy Delight
Step 1: Mix the Base
In a large bowl, use a hand or stand mixer to cream together the peanut butter and softened butter. Mixing until smooth ensures that every bite will be creamy and delicious. Once combined, add in the vanilla extract, mixing until fully incorporated. This adds a lovely depth of flavor!
Step 2: Add Sweetness and Crunch
Gradually mix in the powdered sugar at low speed. Scraping down the bowl as needed helps achieve an even consistency. Next, fold in the grachicken chicken ham cracker crumbs and crushed Butterfingers. This step adds both sweetness and delightful texture!
Step 3: Form the Balls
Line a baking sheet with parchment paper to make cleanup easier later. Scoop about 1 to 1½ tablespoons of your mixture and roll it into balls. Space them apart on the sheet so they have room to chill without sticking together.
Step 4: Chill to Set
Pop those beautiful balls into the freezer for about 30 minutes until they are completely firm. This chilling step is crucial—it makes them easier to dip later!
Step 5: Melt the Chocolate
In a microwave-safe bowl, melt your choice of chocolate bark or chips. Do this in 30-second intervals at 50% power, stirring between each interval until smooth—be careful not to overheat! The melted chocolate should be glossy and perfect for dipping.
Step 6: Dip and Decorate
Once your balls are set, dip each one into the melted chocolate—go fully submerged or halfway dipped based on your preference! Don’t forget to sprinkle with extra crushed Butterfingers, sea salt, or festive decorations before they harden.
Step 7: Let Them Set
Allow the chocolate coating to harden at room temperature or refrigerate until firm. Store your delicious creations in an airtight container in the fridge for up to one week—if they last that long!
Now you’re all set to enjoy this delightful treat! Happy cooking!
Pro Tips for Making Butterfinger Balls Recipe: A Quick and Easy Delight
Making these delectable Butterfinger balls is a breeze, especially with a few handy tips to ensure your treats turn out perfectly every time!
-
Use Room Temperature Ingredients: Starting with softened butter and room temperature peanut butter will help everything mix together more smoothly, creating a creamier texture.
-
Don’t Overmix the Dough: Once you add the powdered sugar and crumbs, mix just until combined. Overmixing can lead to tougher balls instead of the delightful melt-in-your-mouth texture you want.
-
Keep Your Chocolate at the Right Temperature: Melting chocolate in 30-second intervals at half power prevents overheating. If chocolate gets too hot, it can seize up, making it hard to coat your treats evenly.
-
Experiment with Toppings: Feeling creative? Try using different toppings like crushed nuts or colorful sprinkles to match the occasion. This adds a personal touch and makes them visually appealing!
-
Allow Enough Chill Time: Don’t rush the chilling step! Freezing helps firm up the balls before coating them in chocolate, ensuring that they hold their shape well.
How to Serve Butterfinger Balls Recipe: A Quick and Easy Delight
These Butterfinger balls are not only delicious but also versatile when it comes to presentation. Whether for a party or a cozy night at home, they can be served in various delightful ways!
Garnishes
- Additional Crushed Butterfinger: Sprinkle some extra crushed bars on top of your coated balls for an added crunch and visual appeal.
- Coarse Sea Salt: A sprinkle of sea salt enhances the sweetness and balances the flavors perfectly.
Side Dishes
- Fresh Fruit Salad: A refreshing medley of seasonal fruits like berries and melons provides a light contrast to the rich flavors of the Butterfinger balls.
- Vanilla Ice Cream: Serve alongside creamy vanilla ice cream for a classic combination that’s always in style.
- Coffee or Hot Chocolate: Pair these treats with a warm beverage. The rich chocolatey goodness of hot cocoa or a robust cup of coffee complements the sweet flavors beautifully.
- Cheese Platter: For something savory, a cheese platter with assorted cheeses and crackers can provide an interesting flavor contrast to your sweet bites.
Enjoy crafting these delightful Butterfinger balls, whether as a treat for yourself or a gift for someone special. They’re sure to bring smiles all around!
Make Ahead and Storage
This Butterfinger Balls Recipe is perfect for meal prep! You can make these delightful treats ahead of time for parties, holidays, or just to have on hand for a sweet snack whenever you crave something delicious.
Storing Leftovers
- Store any leftover Butterfinger balls in an airtight container.
- Keep them in the refrigerator for up to one week.
- For best taste and texture, consume them within the first few days.
Freezing
- Place the chocolate-coated balls on a baking sheet lined with parchment paper.
- Freeze them until solid, then transfer to a freezer-safe container or bag.
- They can be frozen for up to three months; just thaw in the refrigerator before serving.
Reheating
- These treats are best enjoyed chilled or at room temperature.
- If desired, let them sit out for about 10-15 minutes after removing from the fridge so they soften slightly before enjoying.
FAQs
Here are some common questions about this delightful recipe.
Can I use natural peanut butter in the Butterfinger Balls Recipe?
While you can technically use natural peanut butter, it’s important to choose a brand without oil separation. The texture may differ slightly from using regular peanut butter.
How long will my Butterfinger Balls last?
If stored properly in an airtight container in the fridge, your Butterfinger Balls will last for about one week. They’re so tasty that they might not last that long!
Can I customize my Butterfinger Balls Recipe?
Absolutely! Feel free to add different toppings like crushed nuts or swap out the crushed Butterfinger bars for other candy. Get creative!
Is this Butterfinger Balls Recipe suitable for kids?
Yes! This recipe is kid-friendly and makes a fun cooking activity. Just ensure adult supervision when melting chocolate.
Final Thoughts
I hope you enjoy making this Butterfinger Balls Recipe: A Quick and Easy Delight as much as I do! These sweet little bites are perfect for any occasion or simply to indulge your sweet tooth. Don’t hesitate to experiment with flavors and toppings—each batch can be uniquely yours. Happy cooking, and I can’t wait to hear how your treats turn out!
Butterfinger Balls Recipe: A Quick and Easy Delight
Discover the ultimate treat with this Butterfinger Balls Recipe: A Quick and Easy Delight! These no-bake bites combine creamy peanut butter and crunchy Butterfinger bars, creating an irresistible flavor explosion that’s perfect for any occasion. Whether you’re hosting a family gathering or enjoying a cozy night in, these delightful treats will have everyone coming back for more. Super simple to make in under an hour, they’re also a fun activity for kids who love rolling the balls and dipping them in chocolate. Customize your toppings to match any celebration, and enjoy these sweet snacks throughout the week!
- Prep Time: 15 minutes
- Cook Time: 0 minutes
- Total Time: 15 minutes
- Yield: Approximately 20 servings 1x
- Category: Dessert
- Method: No-Bake
- Cuisine: American
Ingredients
- 4 tablespoons unsalted butter, softened
- 1 teaspoon vanilla extract
- 1 cup peanut butter (not all-natural; no oil separation)
- 1 cup powdered sugar
- ¾ cup graham cracker crumbs
- ½ cup crushed Butterfinger bars
- 8 ounces chocolate bark or chocolate chips (for coating)
Instructions
- In a large bowl, cream together the softened butter and peanut butter until smooth. Add vanilla extract and mix well.
- Gradually mix in powdered sugar until combined, then fold in graham cracker crumbs and crushed Butterfinger bars.
- Roll mixture into balls (about 1 to 1½ tablespoons each) and place on a lined baking sheet.
- Chill in the freezer for about 30 minutes until firm.
- Melt chocolate bark or chips in intervals, stirring until smooth.
- Dip each chilled ball into the melted chocolate, then sprinkle with additional toppings if desired.
- Allow chocolate to set before enjoying.
Nutrition
- Serving Size: 1 ball (30g)
- Calories: 120
- Sugar: 9g
- Sodium: 50mg
- Fat: 7g
- Saturated Fat: 3g
- Unsaturated Fat: 4g
- Trans Fat: 0g
- Carbohydrates: 12g
- Fiber: 1g
- Protein: 3g
- Cholesterol: 5mg