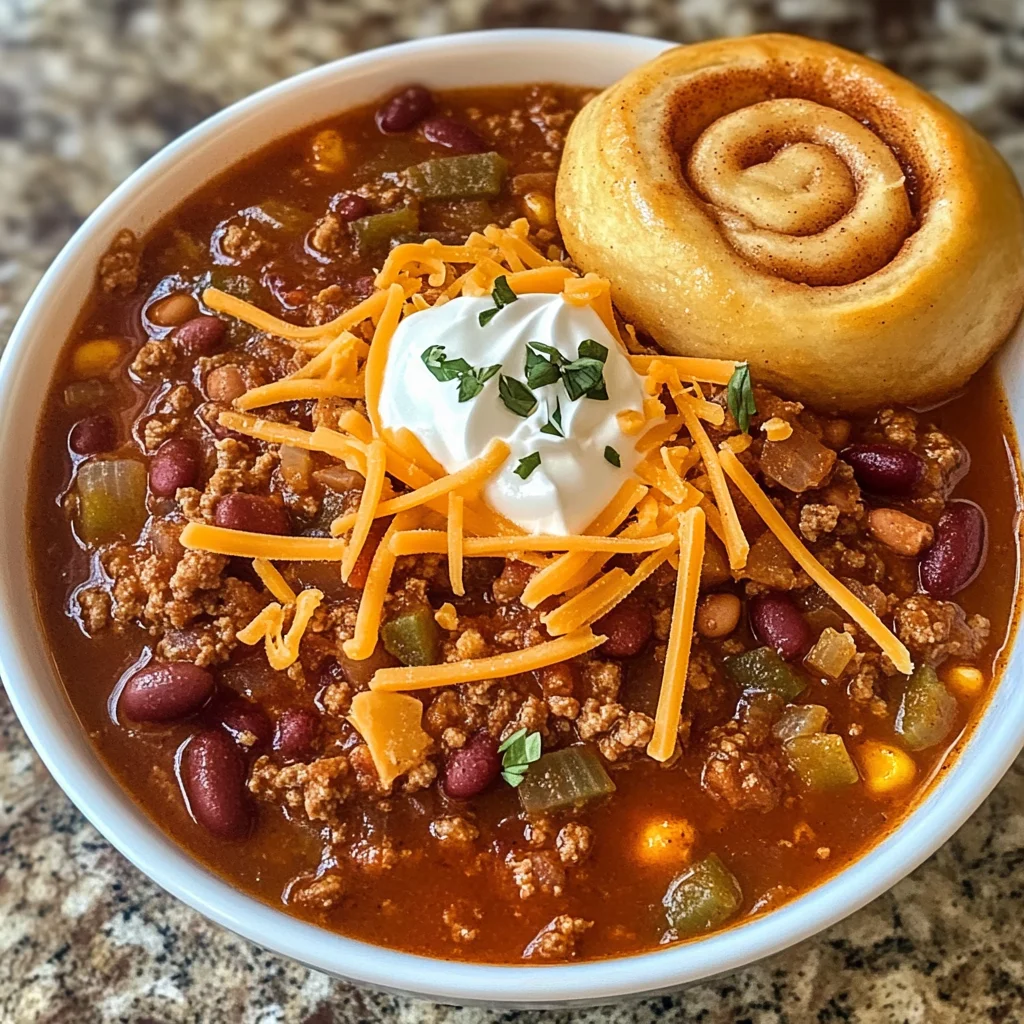
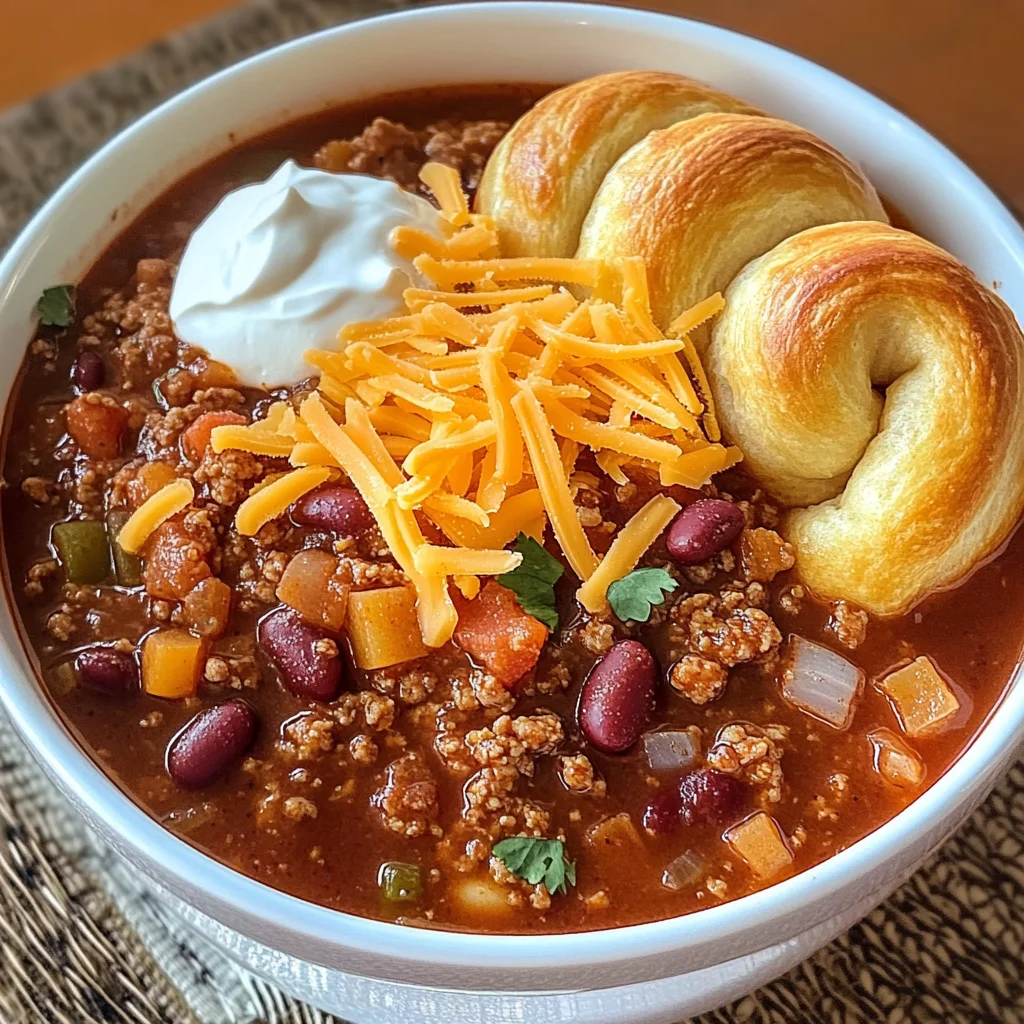
Hillbilly Chili and Cinnamon Rolls
If you’re looking for a cozy, hearty meal that warms the soul, you’ve come to the right place! This Hillbilly Chili and Cinnamon Rolls is one of those beloved recipes that has been passed down through generations. It’s perfect for busy weeknights or family gatherings, where everyone can dig in and enjoy a delicious bowl of chili topped with warm cinnamon rolls. Trust me; once you try this dish, it will quickly become a favorite in your home!
What makes this recipe truly special is its simplicity and the way it brings people together. The combination of savory chili and sweet cinnamon rolls creates a comforting balance that is hard to resist. So, grab your apron, and let’s get cooking!
Why You’ll Love This Recipe
- Quick to prepare: With just 20 minutes of prep time, you can have a satisfying meal on the table in no time.
- Family-friendly: Everyone loves a good chili, and the addition of cinnamon rolls makes it fun for kids and adults alike!
- Flexible ingredients: You can easily adjust the spices or swap out ingredients to fit your family’s tastes.
- Comfort food classic: This dish embodies the warmth of home-cooked meals, making it ideal for chilly nights.
Ingredients You’ll Need
This recipe calls for simple, wholesome ingredients you’ll likely have on hand. Each one plays an essential role in creating that rich, flavorful chili that pairs perfectly with sweet cinnamon rolls.
For the Chili
- 1-2 Tbs. mild chili powder
- 2 lbs. ground beef (I typically use ground round or ground sirloin)
- 1 medium yellow onion, diced
- 4 oz. spaghetti or angel hair pasta, broken into thirds
- 1 15 oz. can chili beans, undrained
- 1 46 oz. can tomato juice
- 1 Tbs. granulated sugar
- 1 tsp. each kosher salt and pepper
For Garnishing (optional)
- shredded cheddar
- corn chips
- sour cream
Variations
This Hillbilly Chili recipe is wonderfully flexible! Feel free to get creative with these variation ideas:
- Swap the protein: Try using ground turkey or chicken for a lighter option.
- Add more veggies: Toss in some bell peppers or zucchini for added nutrition and flavor.
- Make it spicy: If you like heat, add diced jalapeños or switch to spicy chili powder.
- Go vegetarian: Replace the meat with plant-based crumbles or lentils for a hearty vegetarian version.
How to Make Hillbilly Chili and Cinnamon Rolls
Step 1: Cook the Beef and Onions
Start by browning your ground beef in a large pot over medium heat. As it cooks, add the diced onions. Sauté until they are translucent and fragrant. This step not only cooks your meat but also brings out the sweetness of the onions—an essential flavor base for your chili.
Step 2: Stir in the Spices
Once your beef is browned and onions are softened, sprinkle in 1-2 tablespoons of mild chili powder along with salt and pepper. Stir well to combine everything evenly; this helps build layers of flavor as they cook together.
Step 3: Add Remaining Ingredients
Next, pour in your tomato juice and add the undrained chili beans along with broken pasta pieces. Give everything a good stir! The pasta will cook right in the pot while soaking up all those delightful flavors.
Step 4: Simmer Away
Bring your mixture to a gentle boil before reducing the heat to low. Let it simmer uncovered for about 30 minutes, stirring occasionally. This simmering time allows all those wonderful flavors to meld together beautifully.
Step 5: Serve with Cinnamon Rolls
While your chili is simmering, prepare some warm cinnamon rolls on the side (store-bought works just fine!). Once ready, serve your Hillbilly Chili hot with garnishes like shredded cheddar cheese, corn chips, or sour cream—and don’t forget those delicious cinnamon rolls!
Enjoy every comforting bite of this delightful meal!
Pro Tips for Making Hillbilly Chili and Cinnamon Rolls
Making Hillbilly Chili and Cinnamon Rolls is a delightful experience, and with these pro tips, you’ll elevate your dish to the next level!
-
Choose the right meat: Using ground round or sirloin provides a leaner option that doesn’t compromise on flavor, ensuring your chili is hearty yet not overly greasy.
-
Don’t skip the sugar: Adding a tablespoon of granulated sugar balances the acidity of the tomato juice, enhancing the overall flavor profile of your chili.
-
Cook pasta separately: Cooking your spaghetti or angel hair pasta separately (rather than in the chili) prevents it from becoming mushy. This way, you can maintain a perfect texture in your dish.
-
Customize your spices: Feel free to adjust the chili powder according to your taste. If you like it spicier, consider adding cayenne pepper or crushed red pepper flakes for an extra kick!
-
Let it simmer: After combining all ingredients, allow your chili to simmer for an additional 10–15 minutes. This step helps meld the flavors together beautifully, making each bite more delicious.
How to Serve Hillbilly Chili and Cinnamon Rolls
Serving Hillbilly Chili alongside warm cinnamon rolls creates a comforting meal that’s perfect for family gatherings or cozy nights at home. Here are some ideas on how to present this delightful dish!
Garnishes
- Shredded cheddar cheese: A sprinkle of shredded cheese adds creaminess and richness that complements the chili’s flavors wonderfully.
- Corn chips: These add a satisfying crunch and texture contrast. Plus, they’re perfect for dipping!
- Sour cream: A dollop of sour cream can provide a cooling effect against the spice of your chili, creating a lovely balance.
Side Dishes
- Fresh cornbread: Light and fluffy cornbread is a classic side that pairs perfectly with chili. Its slightly sweet flavor complements the savory notes of the dish.
- Coleslaw: A tangy coleslaw adds freshness and crunch, cutting through the richness of both the chili and cinnamon rolls.
- Grilled vegetables: Seasonal grilled vegetables can bring vibrant colors and nutrients to your plate while adding a delicious smoky flavor.
- Garden salad: A simple garden salad with mixed greens can provide a refreshing contrast to your hearty main course.
Enjoy crafting this comforting meal! Your friends and family will love coming together over bowls of spicy Hillbilly Chili paired with fluffy cinnamon rolls.
Make Ahead and Storage
This Hillbilly Chili with Cinnamon Rolls is not only delicious, but it’s also perfect for meal prep! You can make a big batch and store it for later, making weeknight dinners a breeze.
Storing Leftovers
- Allow the chili to cool completely before storing.
- Transfer leftovers to an airtight container.
- Store in the refrigerator for up to 3-4 days.
Freezing
- Portion the chili into freezer-safe containers or bags.
- Label each container with the date and contents.
- Freeze for up to 3 months for optimal flavor.
Reheating
- Thaw frozen chili in the refrigerator overnight.
- Reheat on the stovetop over medium heat until warmed through, stirring occasionally.
- For quick reheating, use a microwave-safe dish and heat in increments of 1-2 minutes until hot.
FAQs
Here are some common questions you might have about making Hillbilly Chili and Cinnamon Rolls.
Can I use turkey instead of beef in Hillbilly Chili?
Absolutely! Ground turkey is a great substitute and will still provide a hearty flavor while being slightly leaner. Just follow the same cooking instructions as you would with ground beef.
What sides pair well with Hillbilly Chili and Cinnamon Rolls?
Besides the classic cinnamon rolls, consider serving a fresh salad or cornbread on the side. They complement the chili perfectly!
How can I customize my Hillbilly Chili?
Feel free to add your favorite veggies like bell peppers or zucchini. You can also adjust the spice level by adding more chili powder or including jalapeños for extra heat!
Final Thoughts
I hope you enjoy making this cozy Hillbilly Chili with Cinnamon Rolls as much as I do! It brings warmth and comfort that’s perfect for any gathering or simple family dinner. Don’t hesitate to experiment with flavors, and remember that cooking is all about having fun. Enjoy every spoonful, and happy cooking!
Hillbilly Chili and Cinnamon Rolls
If you’re in search of a comforting and hearty meal that brings the family together, look no further than Hillbilly Chili and Cinnamon Rolls. This delightful dish combines a rich, savory chili made with ground beef and pasta, perfectly paired with warm, sweet cinnamon rolls. It’s an ideal choice for busy weeknights or family gatherings, with its simple preparation and satisfying flavors. With just a few ingredients and under an hour of cooking time, you can enjoy a delicious meal that will quickly become a favorite in your home.
- Prep Time: 20 minutes
- Cook Time: 30 minutes
- Total Time: 50 minutes
- Yield: Serves 6
- Category: Main
- Method: Cooking
- Cuisine: American
Ingredients
- 1–2 Tbs. mild chili powder
- 2 lbs. ground beef
- 1 medium yellow onion, diced
- 4 oz. spaghetti or angel hair pasta, broken into thirds
- 1 15 oz. can chili beans, undrained
- 1 46 oz. can tomato juice
- 1 Tbs. granulated sugar
- 1 tsp. kosher salt
- 1 tsp. pepper
Instructions
- In a large pot, brown the ground beef over medium heat. Add diced onions and sauté until translucent.
- Stir in mild chili powder, salt, and pepper, mixing well to combine.
- Pour in tomato juice and add undrained chili beans along with broken pasta pieces. Mix thoroughly.
- Bring to a gentle boil, then reduce heat to low and simmer uncovered for about 30 minutes.
- Serve hot alongside warm cinnamon rolls, garnishing with shredded cheddar cheese or corn chips if desired.
Nutrition
- Serving Size: 1 bowl (300g)
- Calories: 420
- Sugar: 5g
- Sodium: 680mg
- Fat: 20g
- Saturated Fat: 8g
- Unsaturated Fat: 10g
- Trans Fat: 0g
- Carbohydrates: 45g
- Fiber: 10g
- Protein: 25g
- Cholesterol: 70mg